
Why a guillotine grip does not mean you have a guillotine
Quick answer: A connected grip is only one part of a guillotine. Identify whether you are learning an arm-in or arm-out variation, then check the hand position and the body controls taught with that version. If the position is wrong, reset it instead of testing how much pressure your partner can tolerate.
Your hands are locked, your forearms are tired, and the opponent is still moving. It is tempting to interpret that sequence as a strength problem. Sometimes the more useful explanation is visible before you squeeze: you are trying to finish one guillotine with the body position from another.
The name covers several variations. A high-elbow lesson and an arm-in lesson can both be correct without their details being interchangeable. Sorting out which one you are actually practicing is less exciting than discovering a secret grip, but it gives the next correction somewhere to land.
Name the variation before changing the grip
In an arm-in guillotine, one of the opponent's arms remains inside the head-and-arm enclosure. An arm-out version does not include that arm. Neil Melanson's arm-in lesson explicitly builds its control around the trapped arm; John Danaher's high-elbow lesson addresses a different arrangement of the supporting arm and hands.
Write the variation next to the video timestamp. Include the starting position. “Guillotine, top half guard, arm in” is a useful label. “Guillotine detail” will eventually describe half the files in your folder and none of them clearly.
During a class correction, resist swapping to the version you remember from another instructor halfway through the demonstration. First understand the sequence being taught. Afterward, ask how it relates to the variation you already use. You may be comparing two legitimate solutions to different positions rather than catching either instructor in a contradiction.
This article is a troubleshooting framework. It is not a substitute for someone checking the actual placement of your arms around a training partner's neck.
The hand can be connected in the wrong place
Garry Tonon's high-elbow setup, presented in BJJ Fanatics' 2019 lesson, emphasizes bringing the choking hand deeper toward the defender's shoulder. The accompanying explanation contrasts that placement with leaving the hand nearer the collarbone. The relevant correction is where the hand arrives, not simply how hard the fingers close.
For your own practice, have your instructor compare the starting grip with the demonstrated one before any finishing pressure is applied. Can they see the intended part of your hand? Is the supporting hand connected where this particular variation requires it? If the answer is uncertain, stop there.
A partner tapping to discomfort does not prove that you reproduced the intended mechanics. Nor does a partner refusing to tap give you permission to escalate indefinitely. Agree that a misplaced grip gets reset. The learning objective is to recognize the position, not to win a contest over who will complain first.
If you are practicing in the gi, also check that loose fabric is not hiding the hand placement from your coach. The same camera angle that works in a rashguard may tell you much less through a folded lapel.
The high elbow needs space to get there
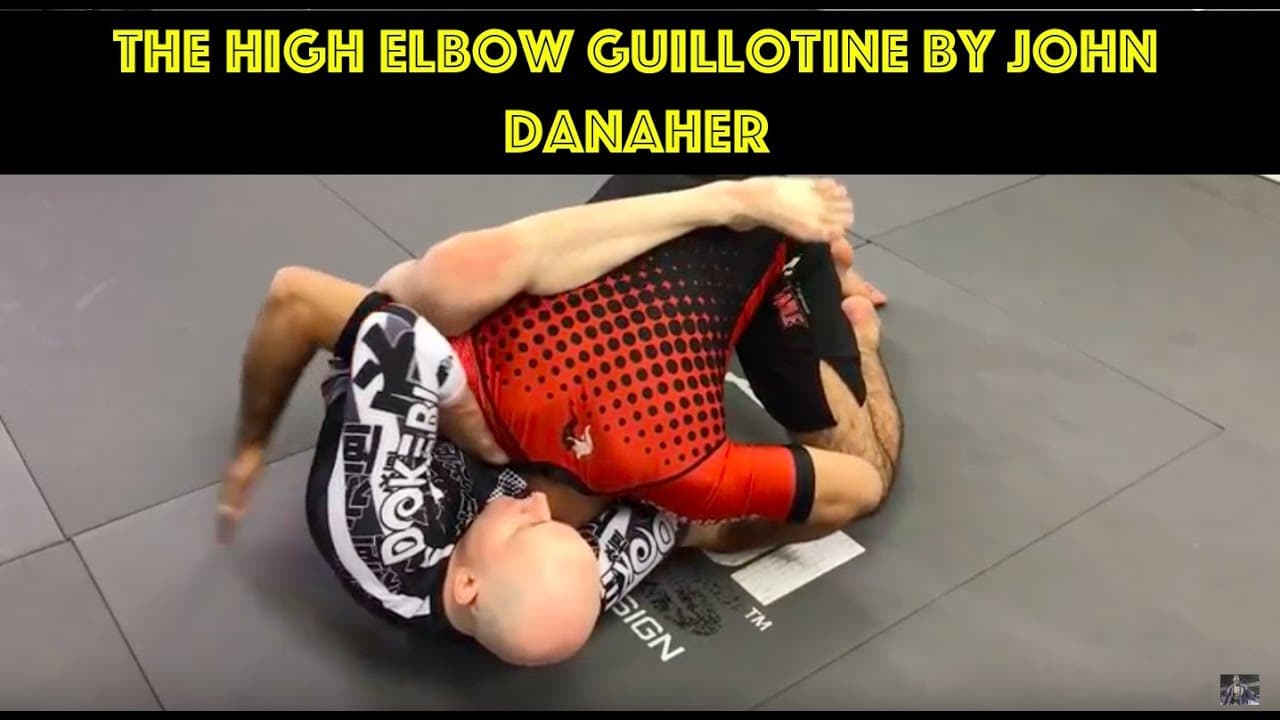
Danaher's high-elbow demonstration uses shoulder pressure and a slight turn to create room for the support hand. He then addresses the hands' placement in the space between the opponent's neck and shoulder. The raised elbow is part of that sequence. Copying its final appearance without the preceding space-making step leaves out the reason it can get there.
That distinction changes what you should ask for help with. “My elbow won't go up” is a starting complaint. “I cannot insert the support hand after this grip” identifies an earlier obstruction. The second description is more likely to produce a correction you can test immediately.
Avoid solving a blocked movement by wrenching your own arm into position. Return to the setup. Your coach may select a different version, adjust the angle, or show that the opponent has already denied this route. A useful lesson can end with recognizing that the attack is unavailable in the current position.
Keep the result specific to the variation. The raised elbow from this lesson is not a universal finishing posture for everything called a guillotine.
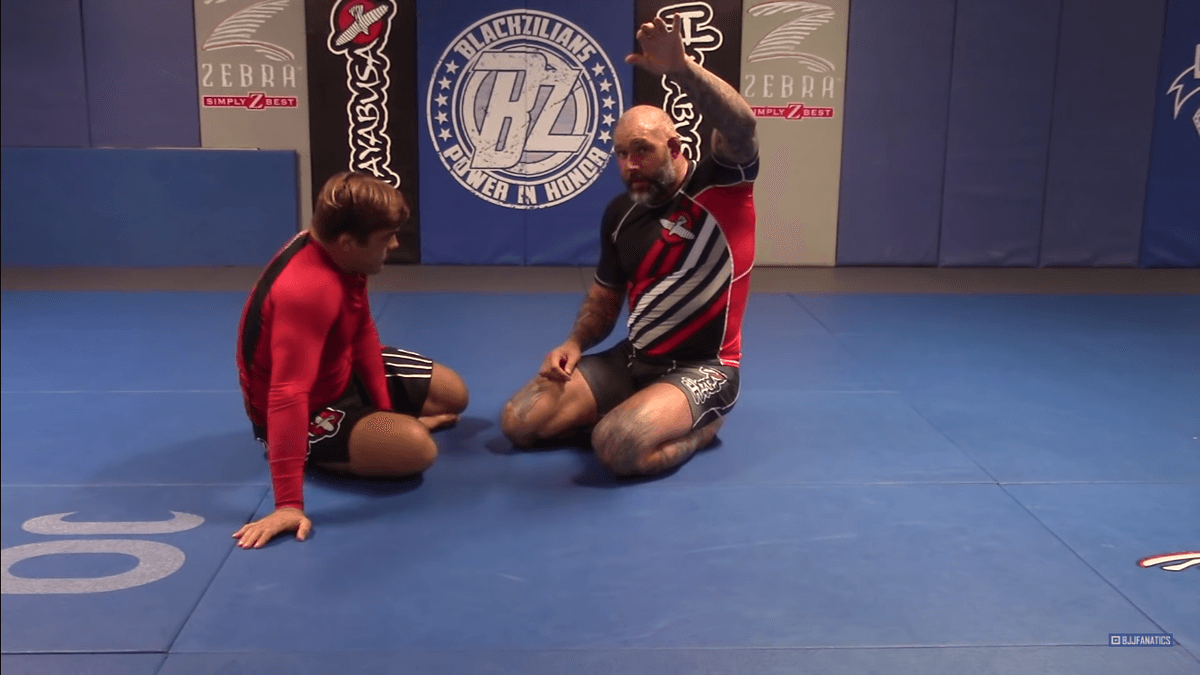
Photo: BJJ Fanatics / Neil Melanson demonstration.
The trapped arm has a job in an arm-in finish
Melanson's arm-in demonstration begins from top half guard and uses the opponent's underhook as part of the entry. The lesson emphasizes controlling and lifting the trapped arm while closing the surrounding space. That is why an arm-in guillotine should not be evaluated as though the arm were an accidental obstacle inside an otherwise identical choke.
When a partner changes the elbow position, your first task is to notice the change. Repeating the same squeeze while the enclosure has changed tells you little. Return to the taught arrangement and compare the two starts with light, cooperative movement.
There is no need to turn this into an argument over which version is universally better. If an instructor is helping you build an arm-in attack from a half-guard exchange you encounter often, that may be the more relevant project for now. Someone entering from a different headlock may reasonably choose another route.
An honest training note can say that you could establish the arm position cooperatively but lost it as soon as the partner began hand fighting. That is useful progress information. Calling the entire technique ineffective is a much larger claim than that one round supports.
The legs belong in the photograph
Mike Palladino's high-elbow demonstration includes a knee across the hip line and the other leg controlling over the opponent's body. The accompanying explanation connects the leg placement to preventing the opponent from moving around to the defensive side. A tight crop of the hands would conceal that part of the attack.
When watching a guillotine clip, include the knees and hips in the frame. If the clip cuts them off, do not guess that the position is ordinary closed guard. Find the full demonstration or ask your instructor to identify the missing arrangement.
The same applies to your own recordings, when filming is permitted. A close-up can help with a grip correction, but take a wider view for the transition into the finishing position. Otherwise, the video may show an apparently unchanged grip while the rest of the control is disappearing outside the frame.
Do not try to recreate a leg position against a resisting partner by making a sudden uncontrolled jump. Begin from a settled position and learn the movement in the order your coach teaches it. A highlight's speed is an editing choice, not a training requirement.
Let the next position decide whether to keep the grip
A guillotine attempt can continue through a transition, but that does not make every retained headlock productive. If the opponent has cleared the position you meant to control, assess where you have actually landed. Are you still applying the taught attack, or are you holding a neck while your own guard disappears?
Use a coach-approved continuation during practice. One option may preserve the attack; another may require releasing and rebuilding your position. The point is to know the branch before the round becomes frantic. Keeping a grip because it took effort to obtain is an emotional reason, not a description of its current usefulness.
For example, imagine a practice attempt in which the head slips free during the sit. Stop and inspect that instant. Do not spend the rest of the round trying to recover the original choke from an unrelated position merely to avoid calling the attempt unsuccessful.
Our guide to open guard covers the broader task of working from bottom. If your submission attempt ends there, resume the appropriate guard work rather than treating bottom position as a temporary inconvenience that can be ignored until the choke returns.
Ask for feedback that describes the contact
Keep your partner's feedback short and concrete. You do not need a medical explanation of pressure around the neck, and your partner should not have to endure repeated painful attempts to help you diagnose a grip.
A practical review can include:
Whether the intended arm and hand placement remained intact during the transition.
Whether a specific movement let the head escape before the finishing position was reached.
Whether the attempt caused uncomfortable neck or jaw pressure that requires stopping and checking the setup.
These are discussion prompts, not a safety test that certifies a choke. Tap early, release immediately, and stop the exercise if either partner is uncomfortable continuing. Nobody needs to lose consciousness to validate a lesson.
After a correction, repeat the movement slowly enough that both people can notice the changed detail. Then reintroduce ordinary resistance within the class format. If the detail disappears immediately, bring that precise failure back to the instructor. Avoid collecting five more variations to escape the inconvenience of learning the first one properly.
Use the BJJ drilling guide to plan a controlled practice question you and your instructor can actually inspect.
Main photo: BJJ Fanatics / John Danaher demonstration.
The takeaway
A guillotine can fail at the grip, the arm arrangement, or the transition into position. Those are different problems, and they do not all improve when you squeeze harder. Identify the version, preserve the relevant controls, and inspect the first place the sequence changes.
Keep one complete lesson together while learning it. Borrowing a hand position from one instructor and a leg position from another can be a worthwhile experiment later, but it should be a deliberate experiment. During early troubleshooting, that mixture can hide which technique you are attempting at all.
Find instruction you can test on the mat
Use the Let's Roll gym directory to look for nearby classes. Bring a specific guillotine position to an instructor who can see the grip and the transition in person.
FAQ
Why do my arms get tired without finishing the guillotine? Fatigue alone does not identify the error. Check the variation, the hand placement, and whether the opponent has already escaped the intended body control before assuming you need more strength.
Are arm-in and high-elbow guillotines interchangeable? Their details should not be mixed automatically. Study each as a complete arrangement and ask how your instructor wants you to transition between them.
Should a partner keep resisting if the choke feels wrong? No. Tap or stop the repetition, release immediately, and have the setup checked. Training does not require enduring neck or jaw discomfort to provide useful feedback.
What should I film for a guillotine review? With permission, record a view that shows the whole entry and finishing position, including the legs. A separate close-up may help explain the hands, but it cannot show whether the lower-body control survived the transition.
Related Posts
Lasso guard: know when to keep the sleeve and when to leave
A lasso hook can buy time or trap you in a grip battle. Give the free leg a purpose, keep useful sleeve control, and recognize when to change guards.
Spider guard: give each foot a job
Make spider guard easier to read. Learn how sleeve tension, different foot positions, and the passer's posture shape your next sweep or transition.
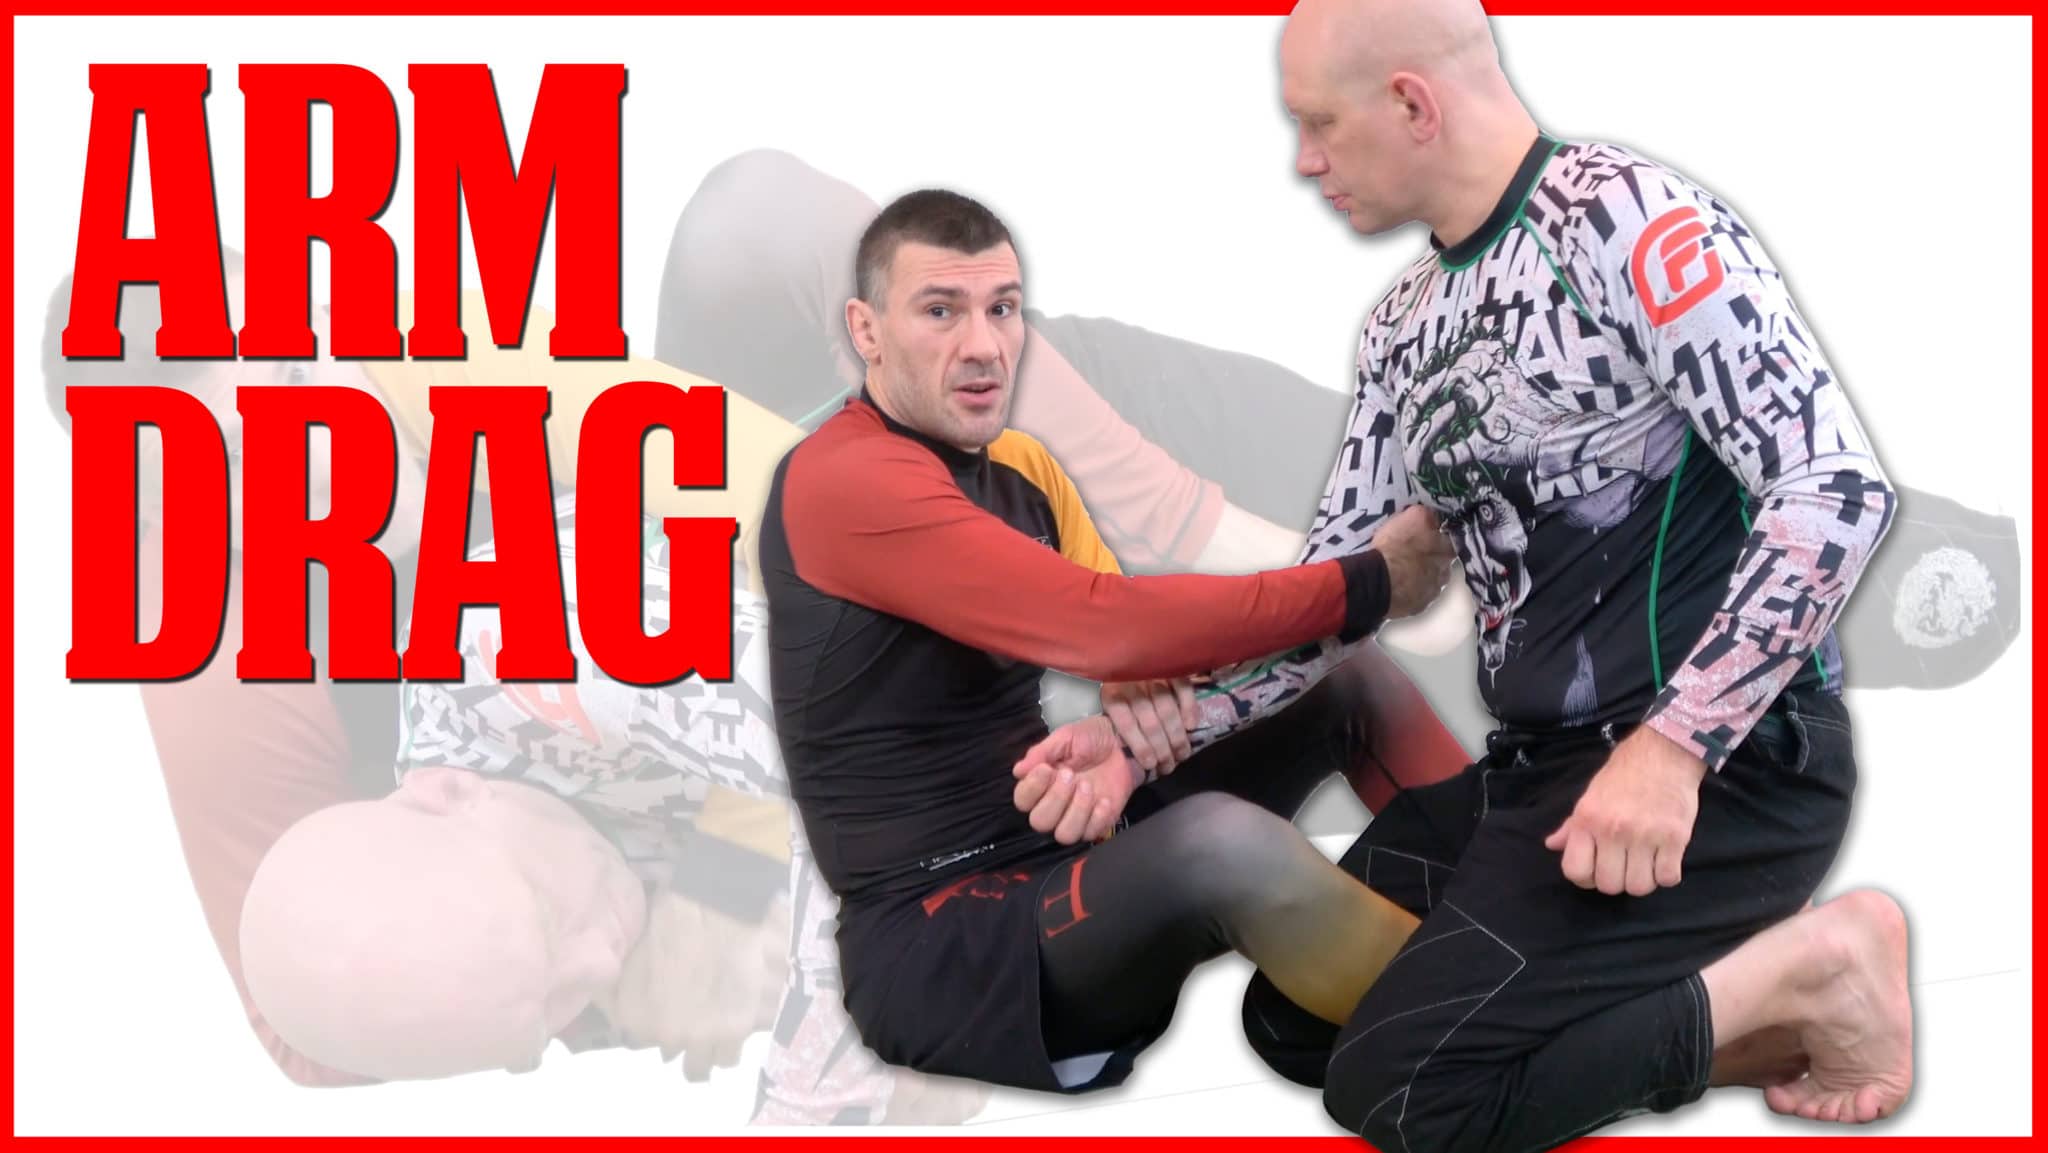
The seated arm drag starts before you pull the arm
The seated arm drag needs more than a wrist grip. Study the arm connection, hip movement, and reactions that open a back take or a route to top position.
Comments (0)
Loading comments...